As part of Microsoft's Hacking STEM initiative, I designed and built a complete learning experience for elementary school students to investigate thermal conductivity. The project paired Arduino-based physical computing with a P5.js digital interface, guided by a superhero narrative, all under a $10/student budget constraint.
Beyond black boxes
Microsoft's Hacking STEM initiative is built on a simple premise: when students construct their own scientific instruments rather than using pre-made tools, they develop stronger critical thinking and a deeper sense of ownership over their learning.
Each project in the Hacking STEM library must align with the Next Generation Science Standards, incorporate physical computing, be buildable in a classroom, and cost less than $10 per student. I adopted NGSS standard 5-PS1-3 (identify materials based on their properties) and designed an end-to-end experience for students to investigate thermal energy conductivity.
Teacher interviews
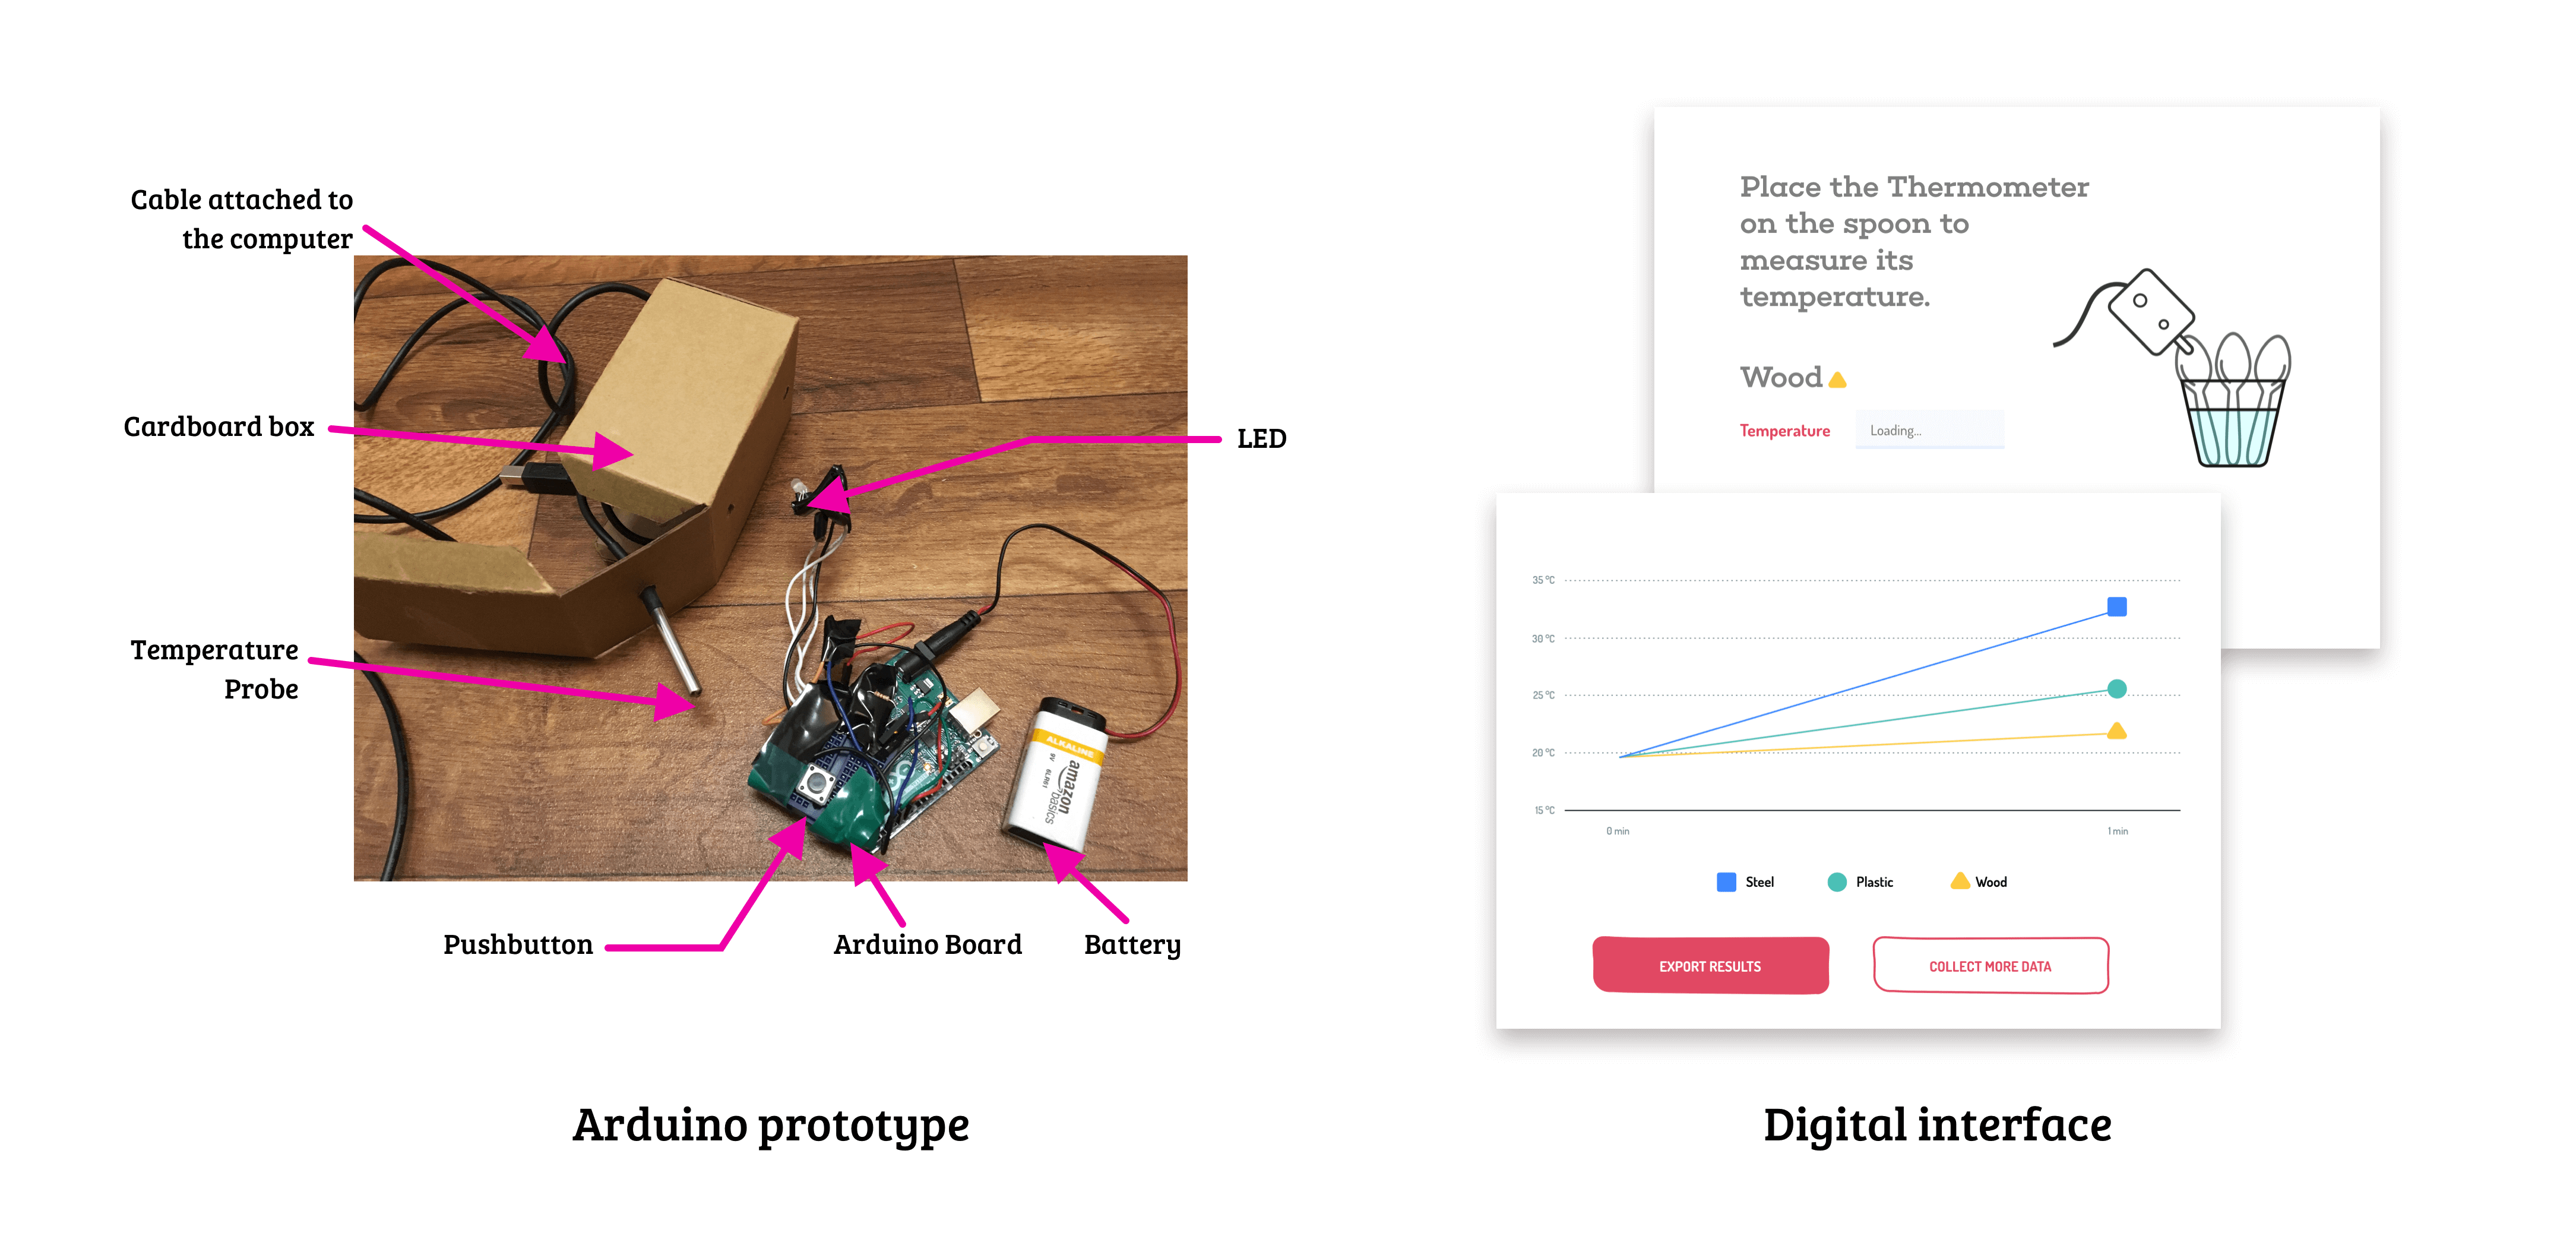
I conducted interviews with STEM teachers in the Seattle area to understand their teaching process. During these interviews, an early prototype was tested using the Wizard of Oz method.
A simple cardboard box, faked to be a thermometer, was connected to a computer serving as the data interface. Inside, an Arduino circuit with a pushbutton controlled an LED to test the behavioral aspect of the final envisioned device. A temperature probe sticking out gave participants the impression of a working thermometer.
The key insight: teachers spend significant energy instigating discourse among students while keeping them engaged. Scientific accuracy was less of a priority for kids at this age. The focus shifted to ensuring conceptual understanding while promoting thinking and dialogue.
"Our objective is to carry out experiment as scientist, to engage in the process as it goes along... we want to recognize patterns and look at the results... it's about dialogue and discourse of the process."
"I was wondering what to do in the one minute. How can this be made more engaging? Always think of ways to keep their energy and spirits high."
Building a storyline
To sustain student interest throughout the scientific investigation, I developed a superhero narrative. Multiple iterations were tested with children, with each round sharpening the storyline and characters.
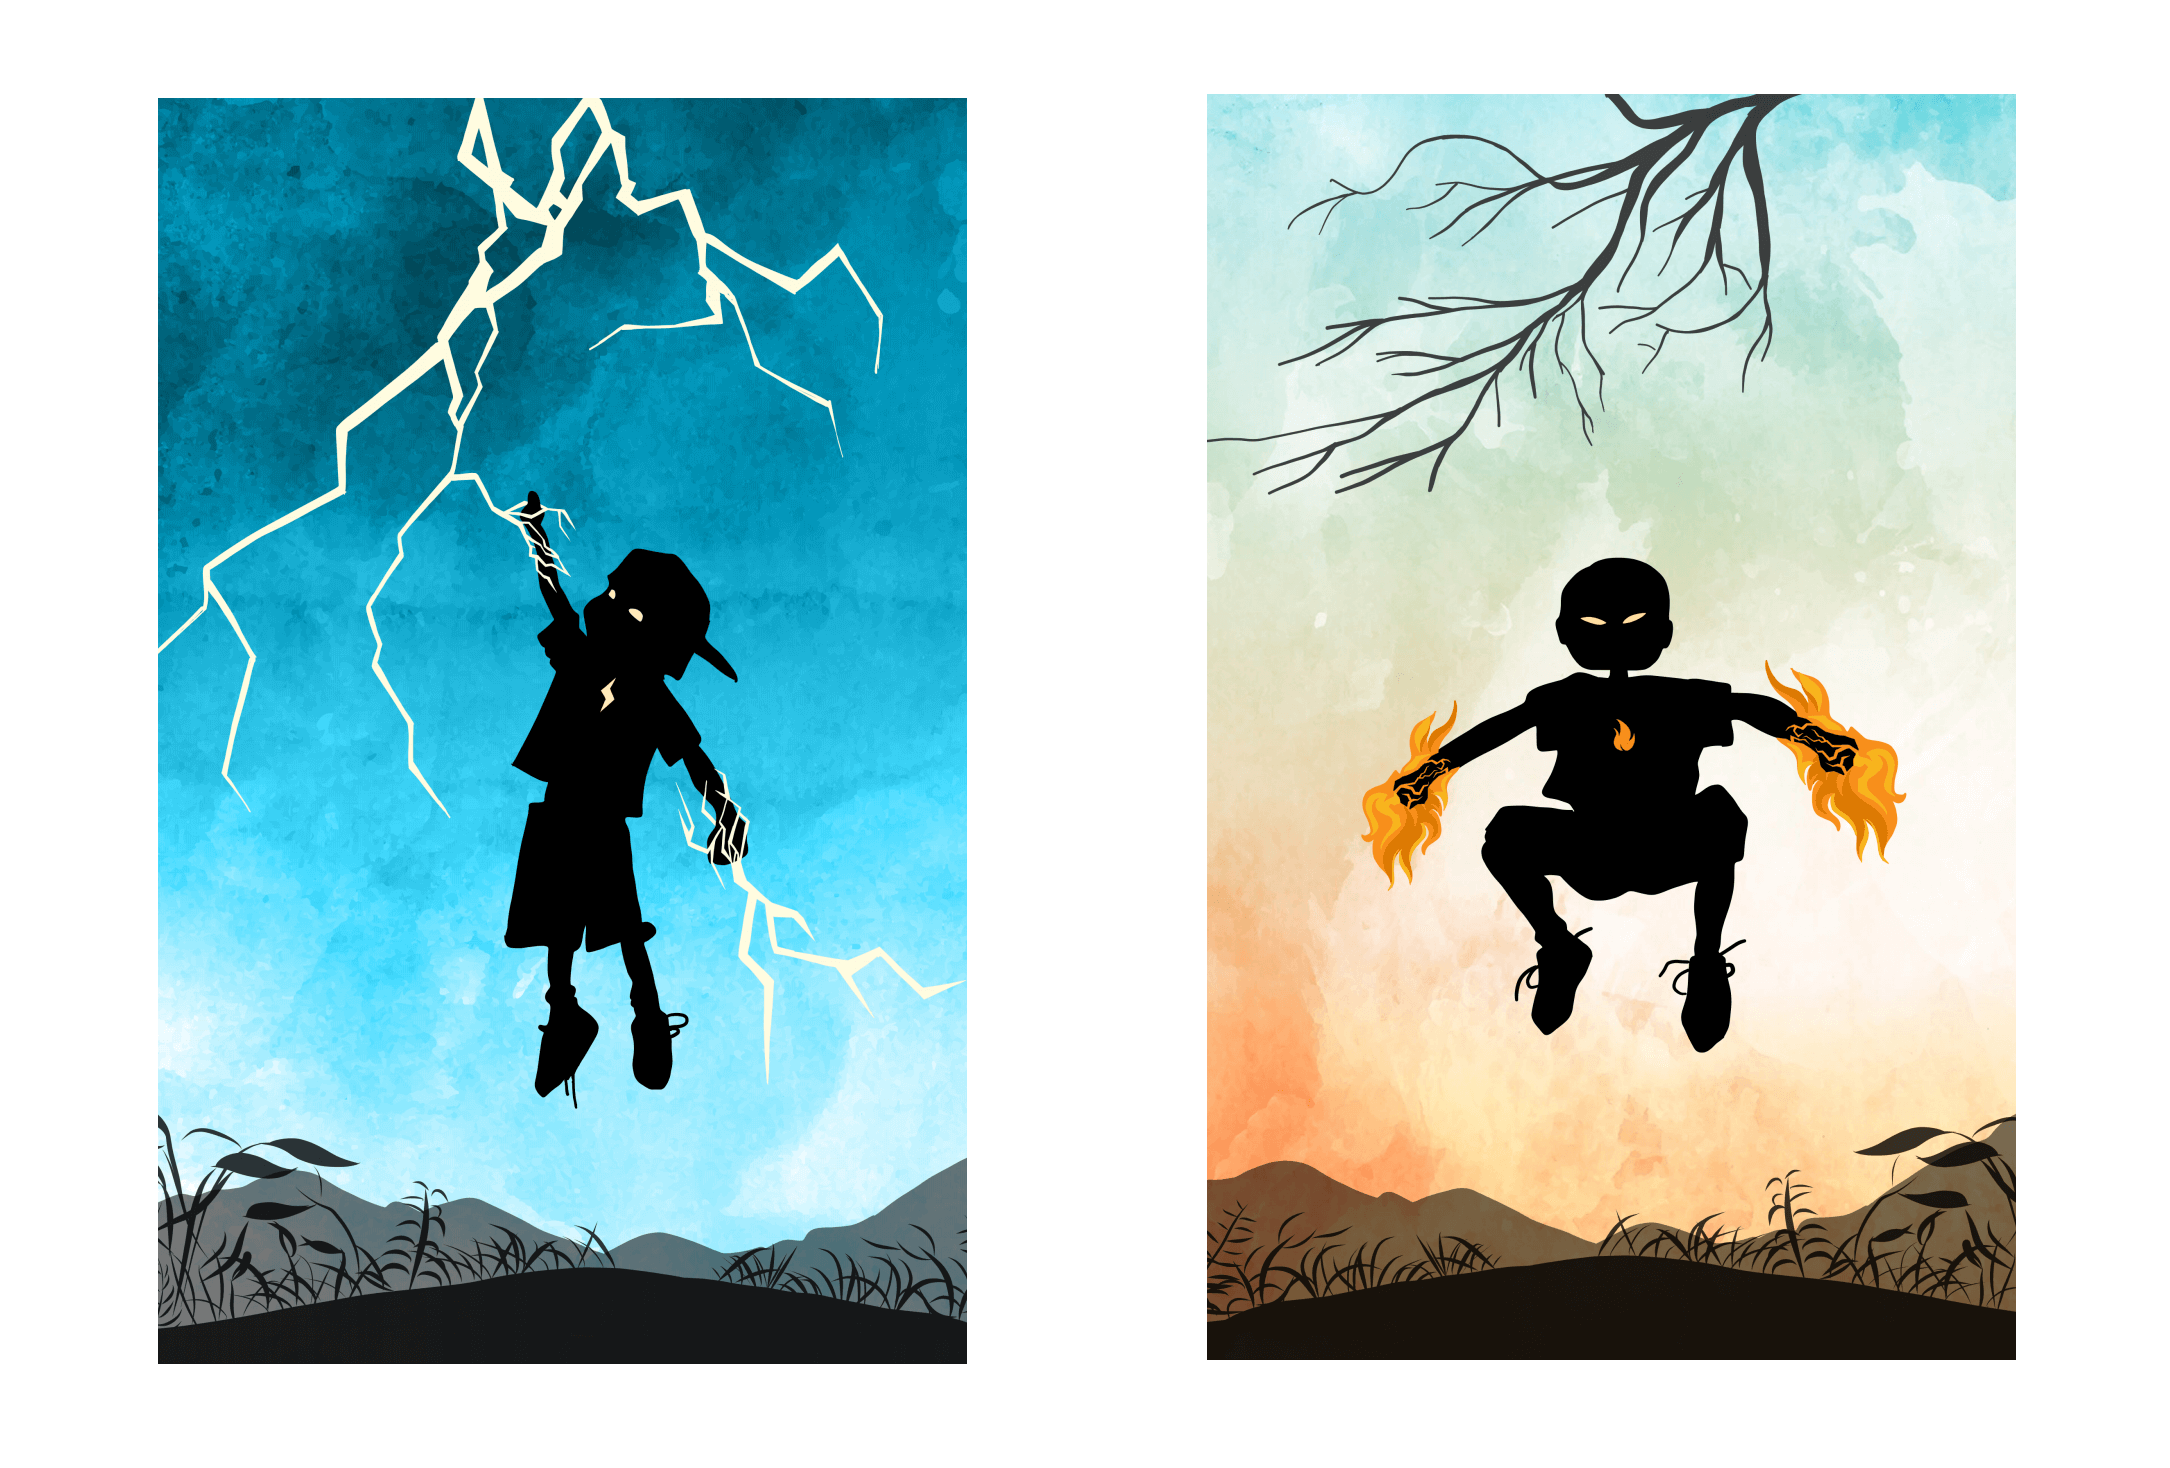

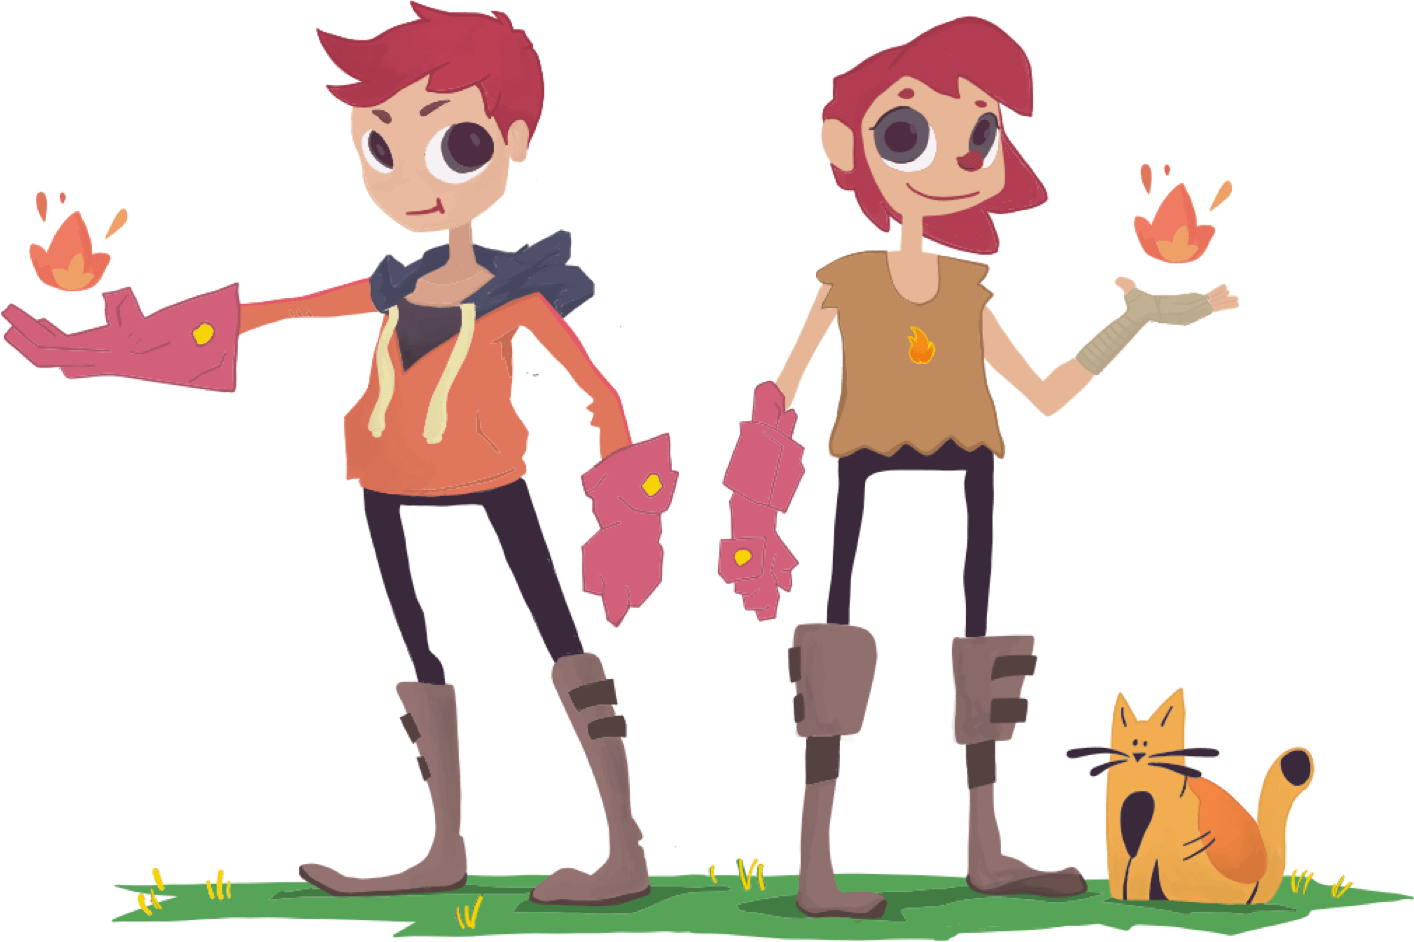
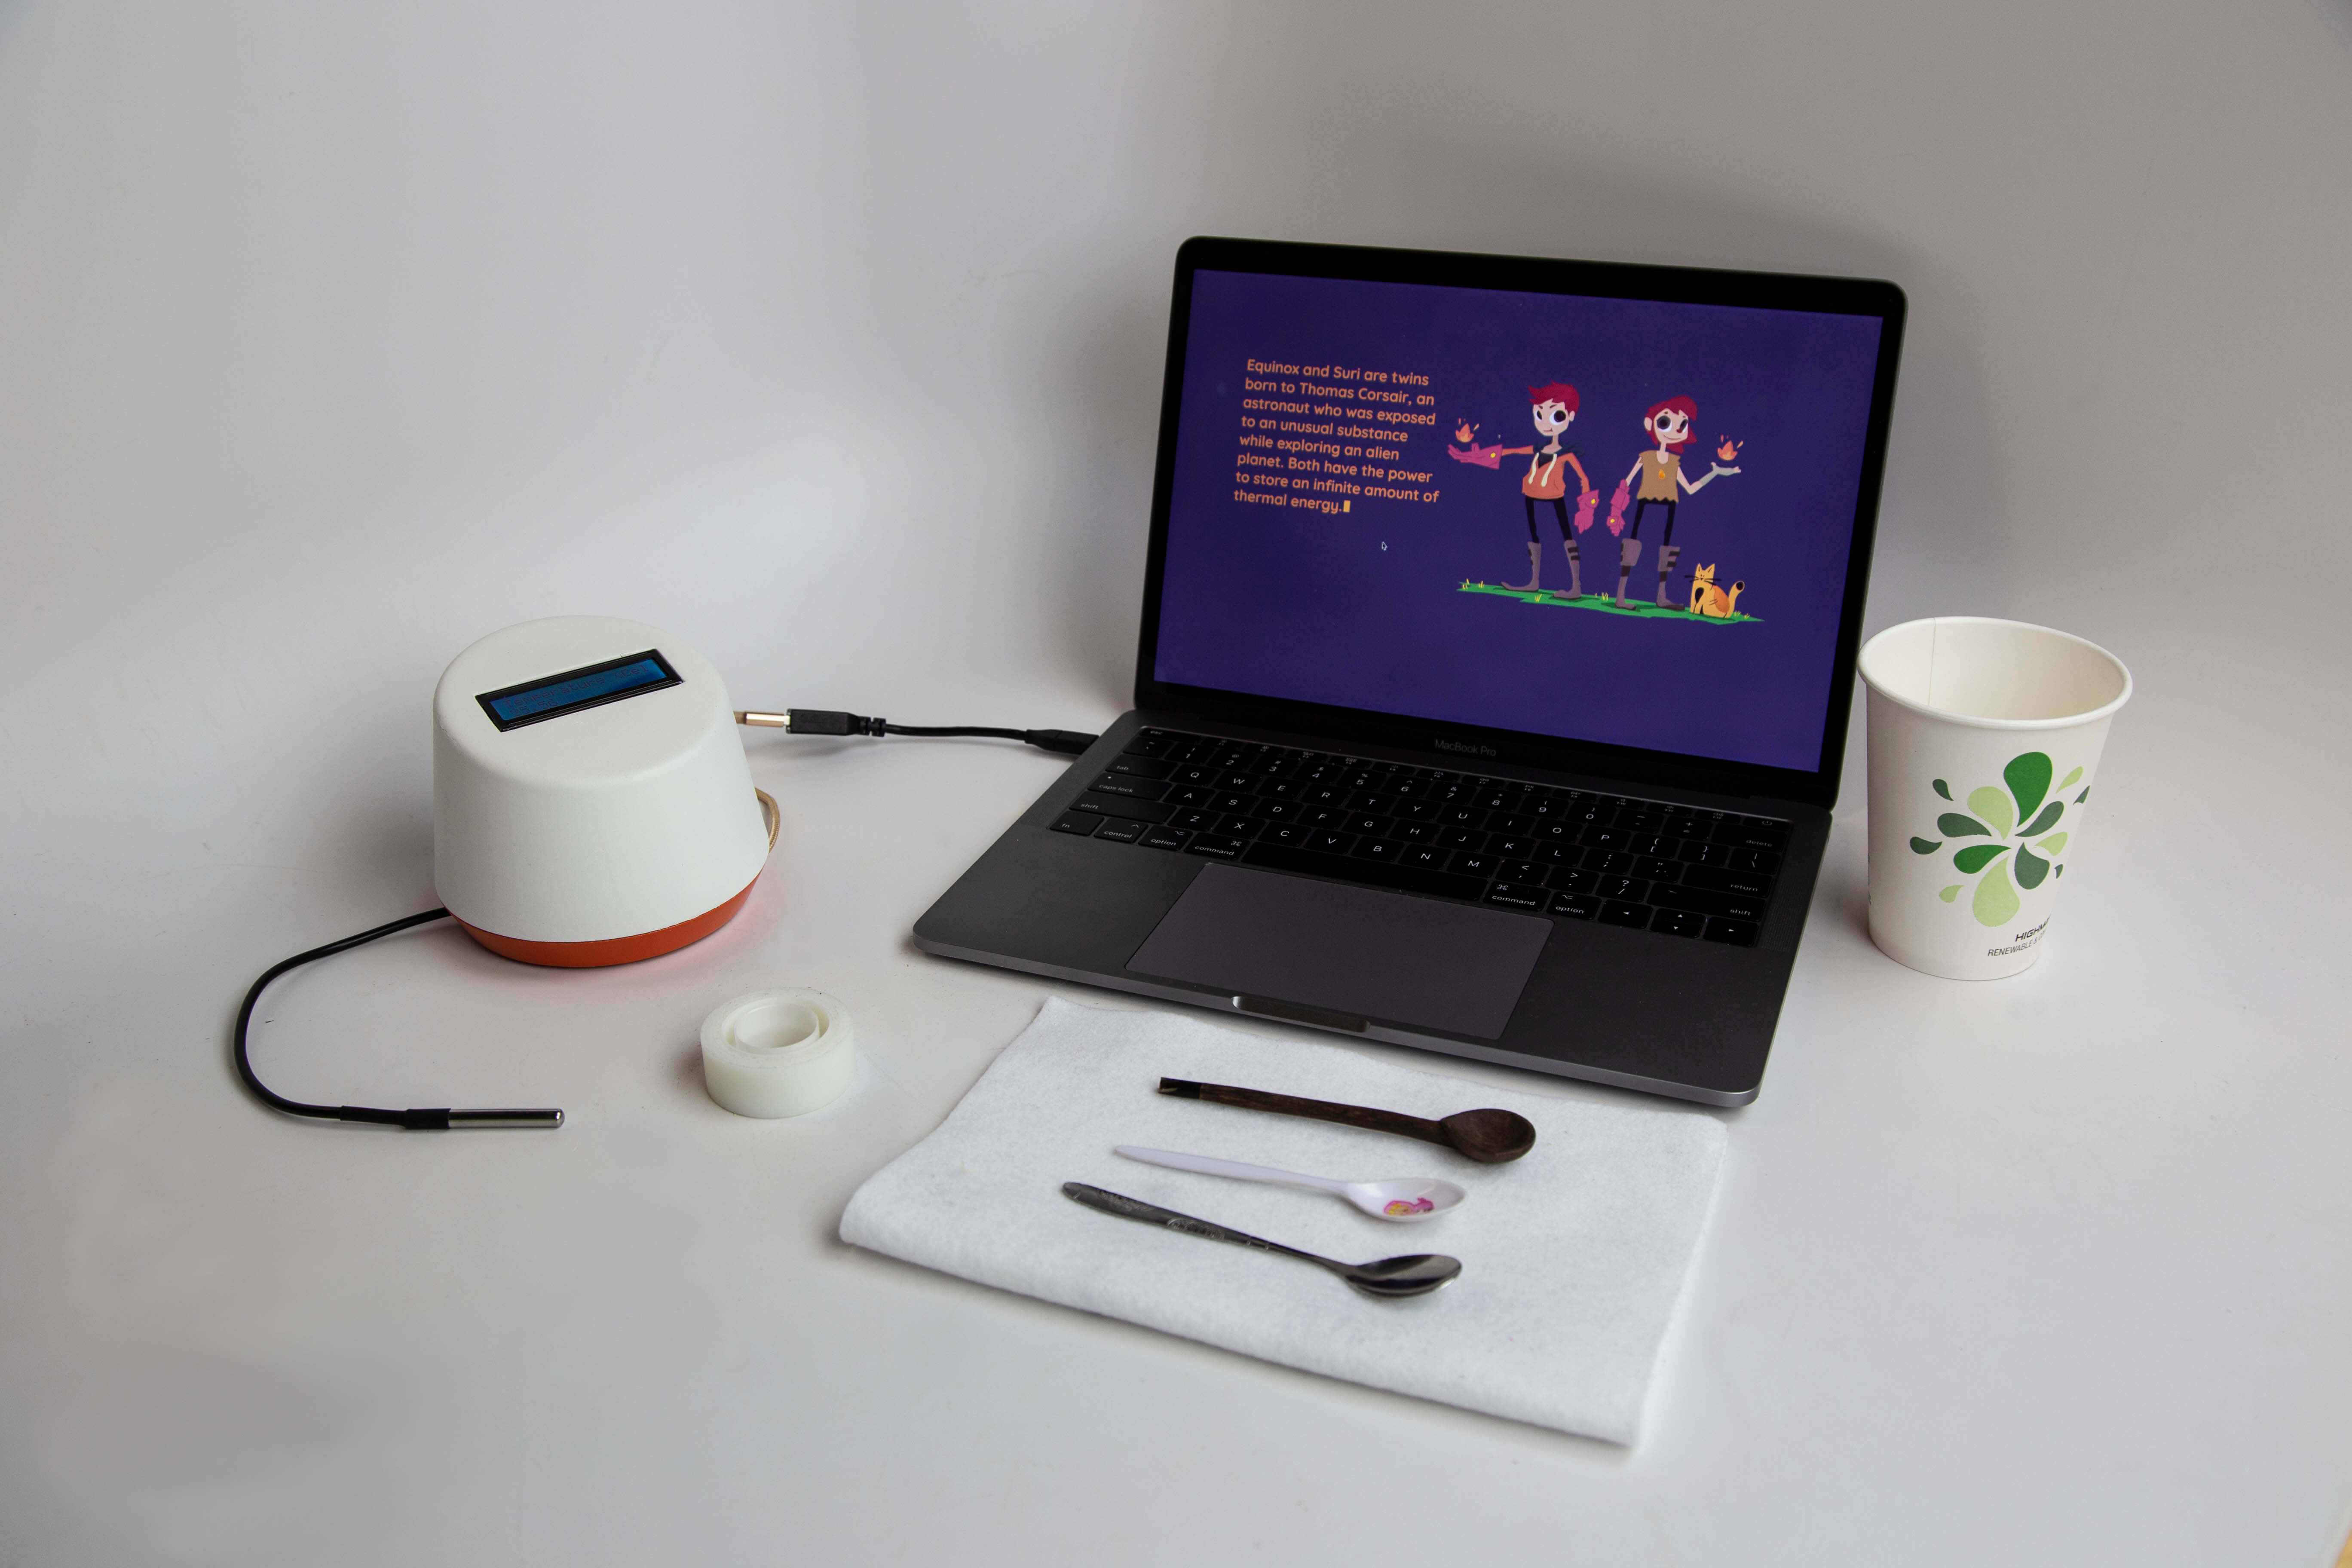
The final iteration introduced Equinox and Suri, twins with the power to store an infinite amount of thermal energy. They needed help from the students to find the material with the highest thermal conductivity for their special glove, turning the scientific investigation into a narrative mission.
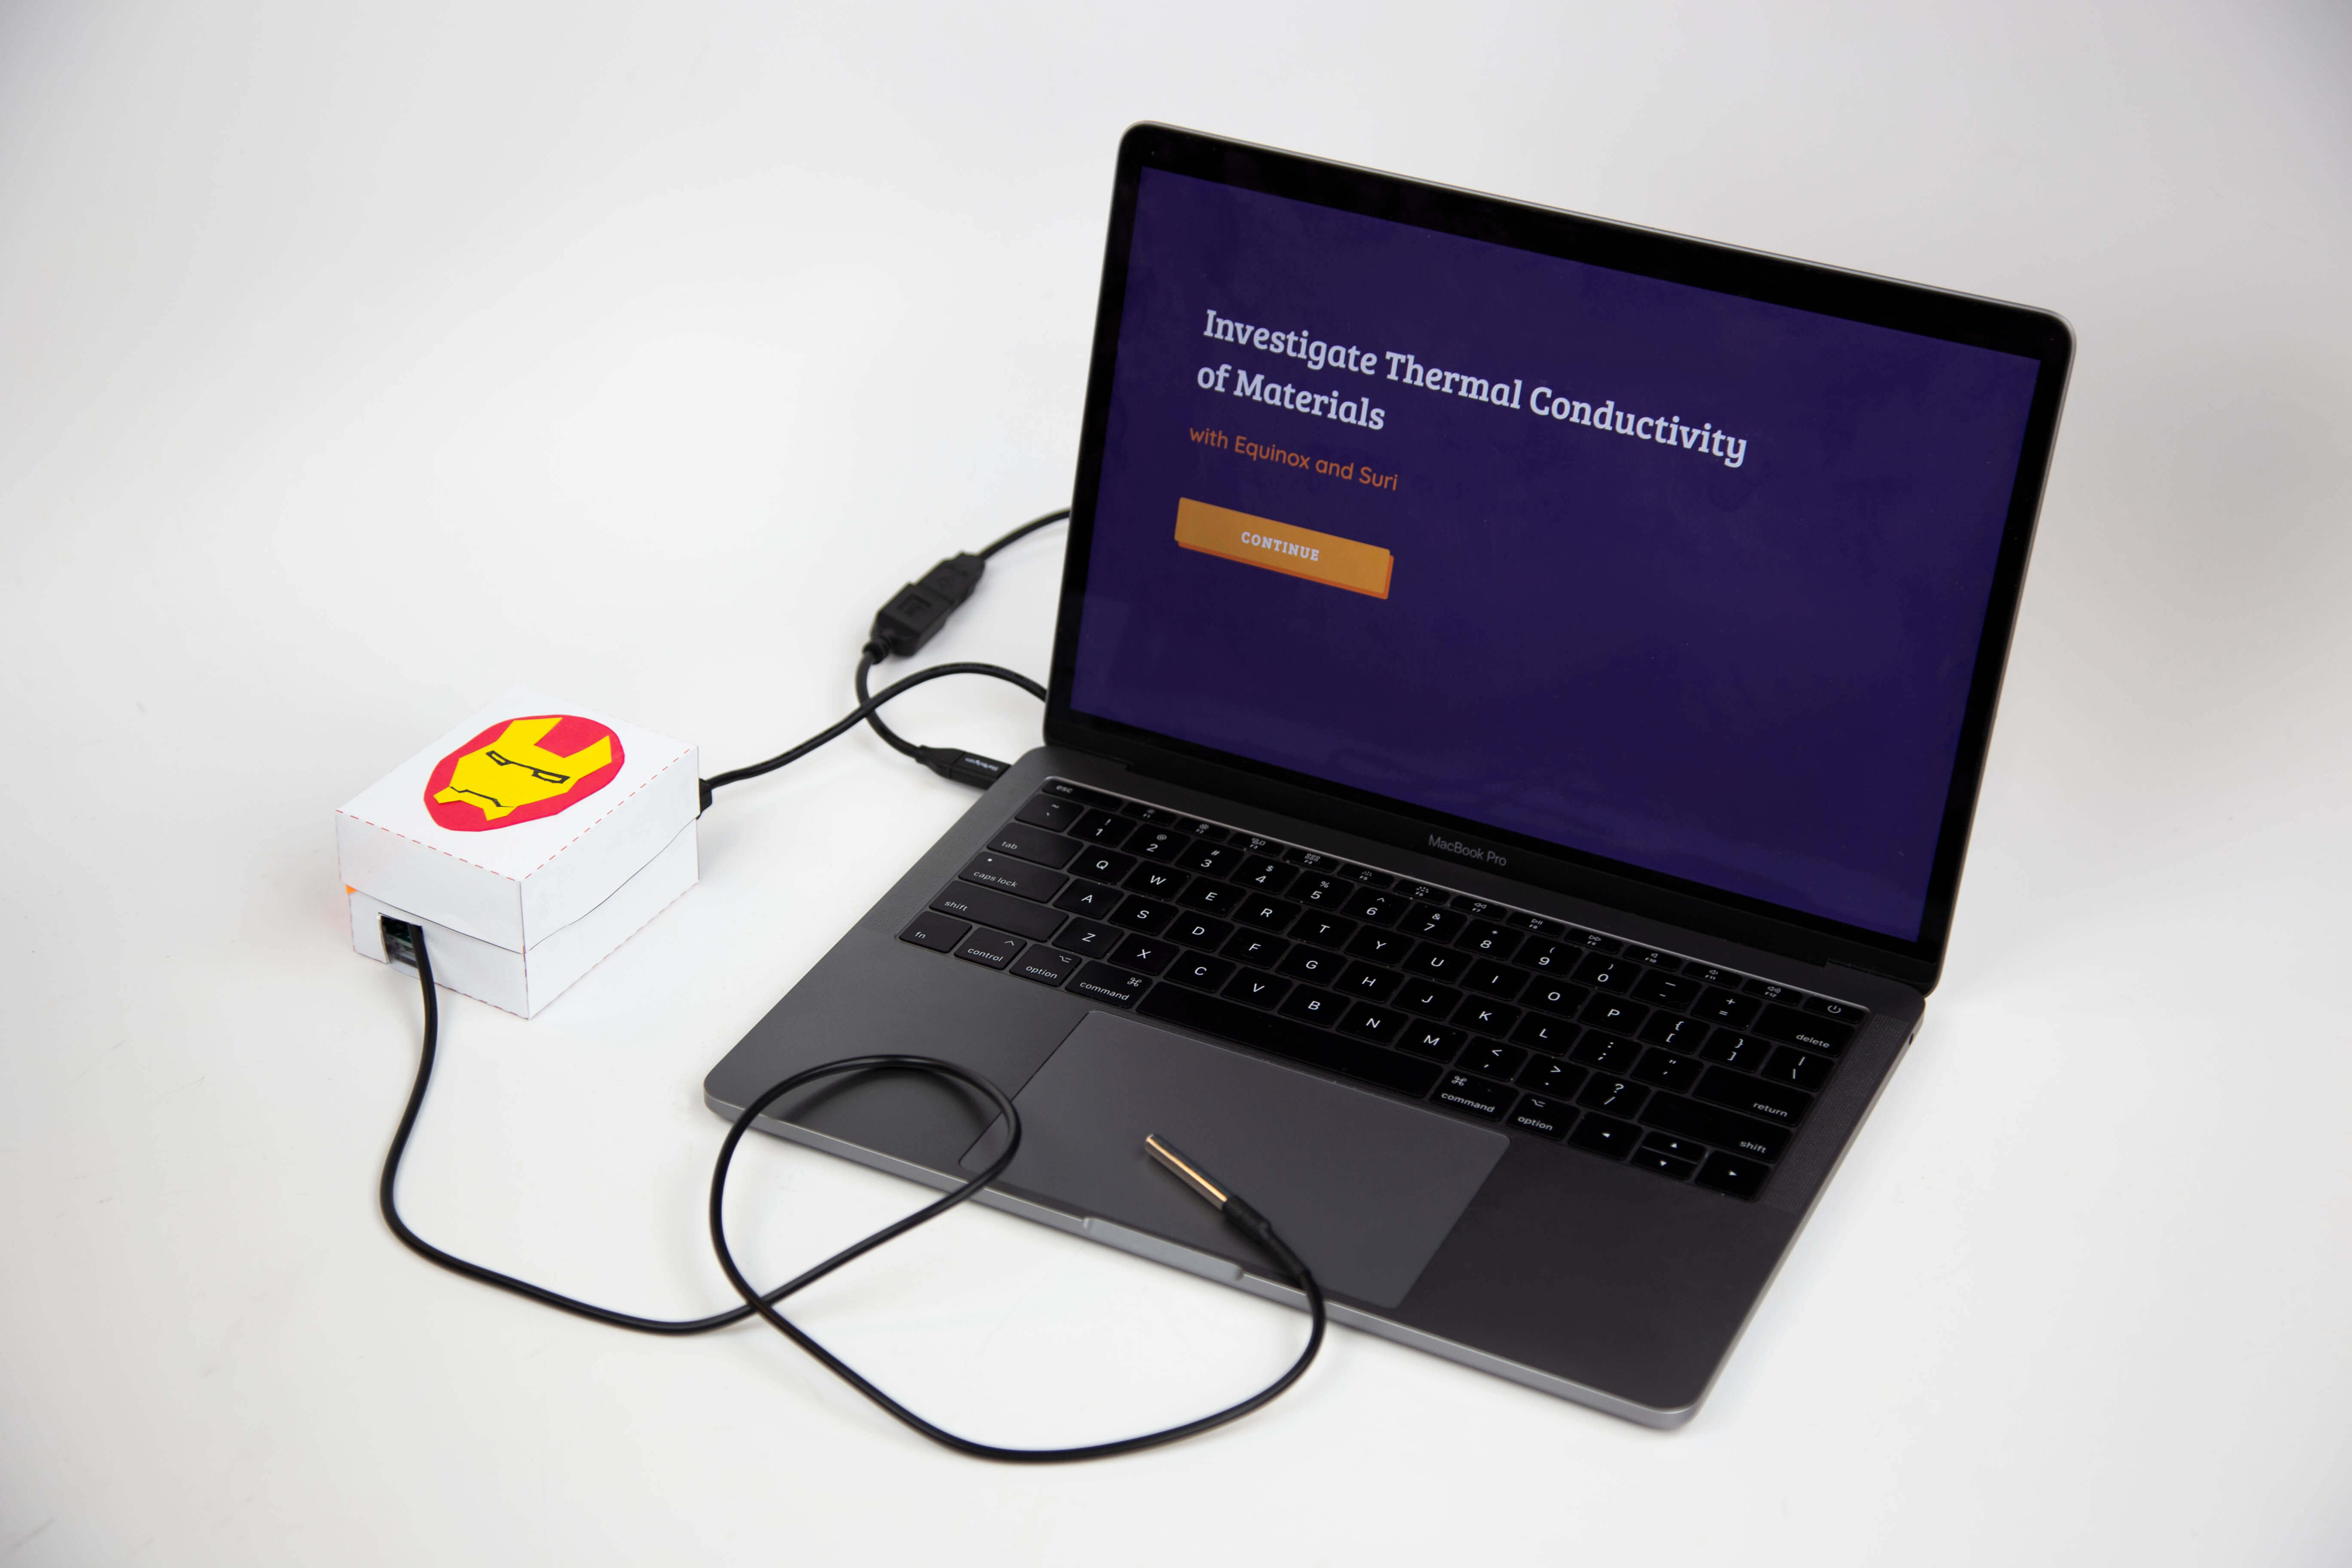
The physical interface
The thermometer was built using an Arduino Uno and DS-18B20 waterproof temperature sensors. Students would assemble the circuit themselves and build a small paper case for their thermometer, reinforcing the "beyond black boxes" philosophy.
A high-fidelity prototype with an LCD screen was also developed for the demonstration at Microsoft's Redmond office.
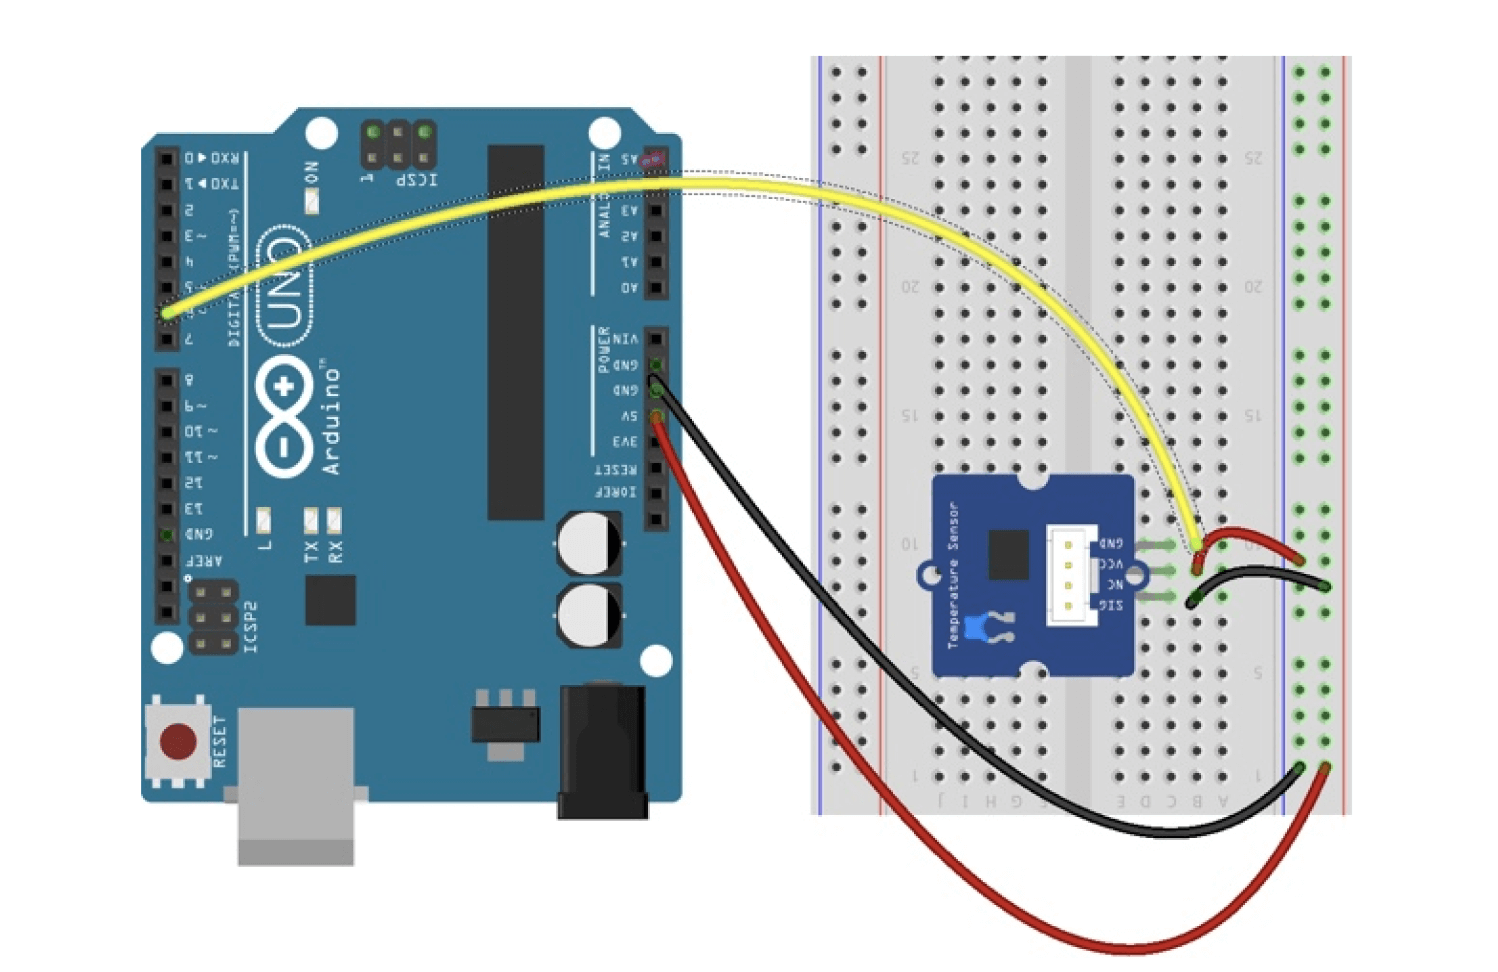
The Arduino code for both high and low fidelity circuits is available below, along with a comprehensive study guide that walks students through building the setup step by step.
Arduino code ↗ Study guide ↗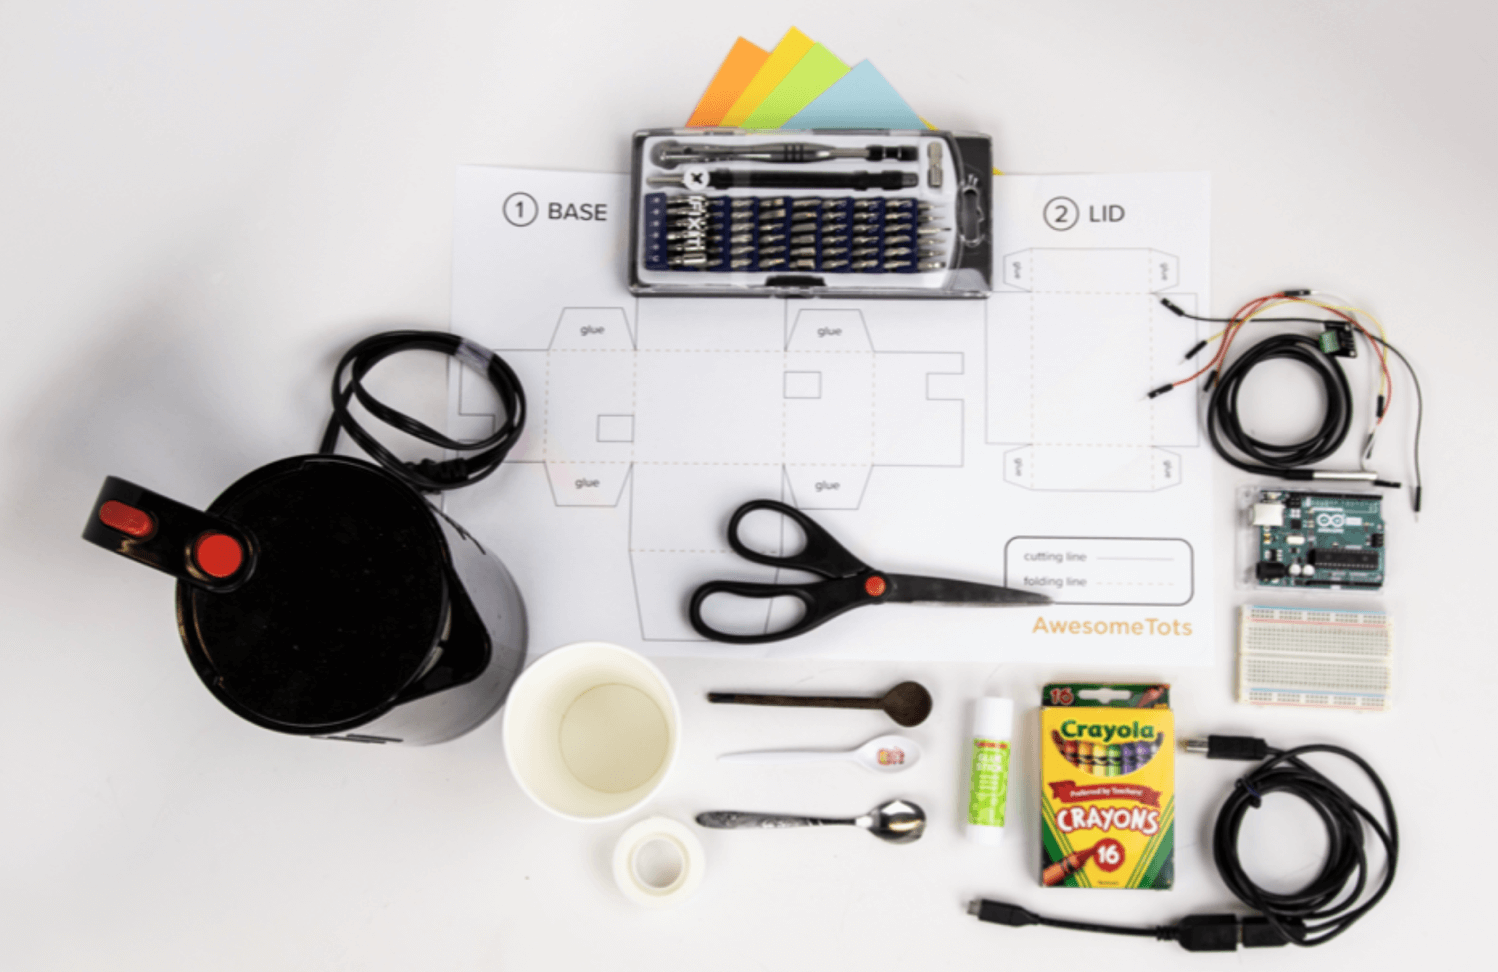
The investigation interface
The digital interface, built with P5.js and vanilla JavaScript, is where students conduct their experiment and make sense of the data. Equinox and Suri guide them through each stage, turning the scientific investigation into a narrative mission.

Story and user flow
Students play the role of scientists helping the superhero duo find the best material for their glove. Contextual feedback and guiding prompts help them navigate the investigation with minimal friction. Usability testing revealed an important insight: students responded better to playful, exaggerated animations than polished ones.
Small design details (typewriter effects, bouncing islands, animated transitions) kept students engaged throughout the session. Temperature readings were stored across materials, enabling comparison on a combined graph.
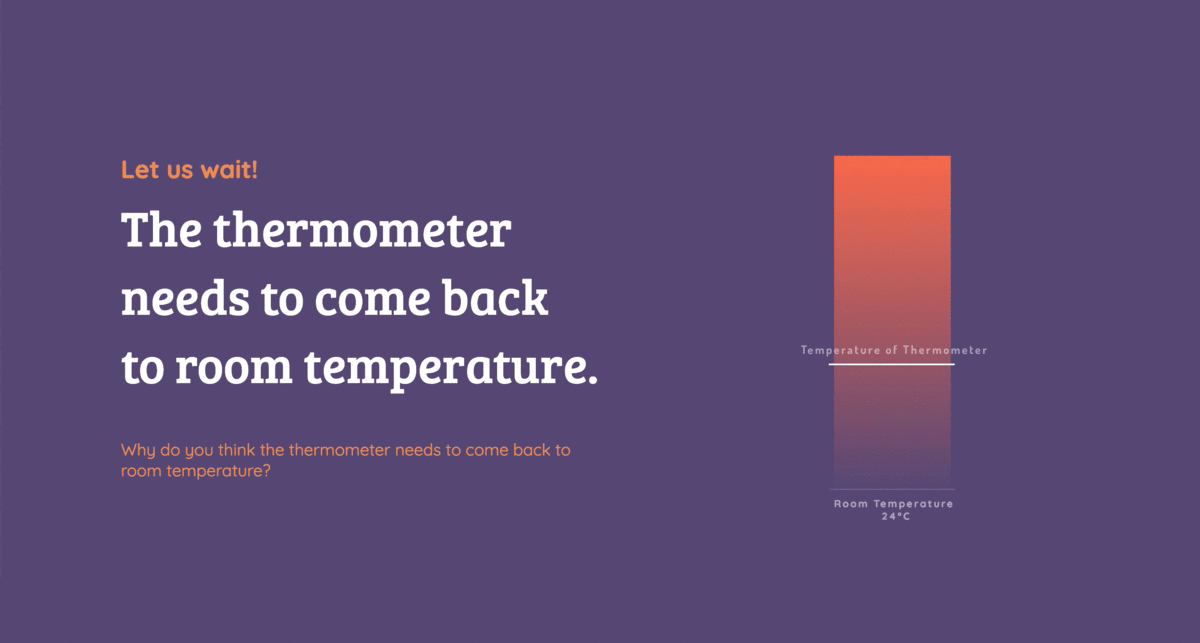
Turning errors into learning
Rather than silently handling known issues, the interface asked students to hypothesize why a particular step was necessary, writing their reasoning in companion Lab Notes. This approach turned technical constraints into learning moments, consistent with the "beyond black boxes" philosophy.
Iterating on the visualization
Teacher feedback prompted exploration of particle-based visualizations to show that thermal energy transfer is molecular movement. Multiple approaches were tested, but usability sessions revealed the molecular visualization was too overwhelming for the target age group. It was removed from the final interface, a decision that reinforced focusing on conceptual clarity over scientific completeness.
Final demonstration
The complete experience (physical instrument, digital interface, study guide, and superhero narrative) was presented at Microsoft's Redmond campus as part of the Hacking STEM showcase.